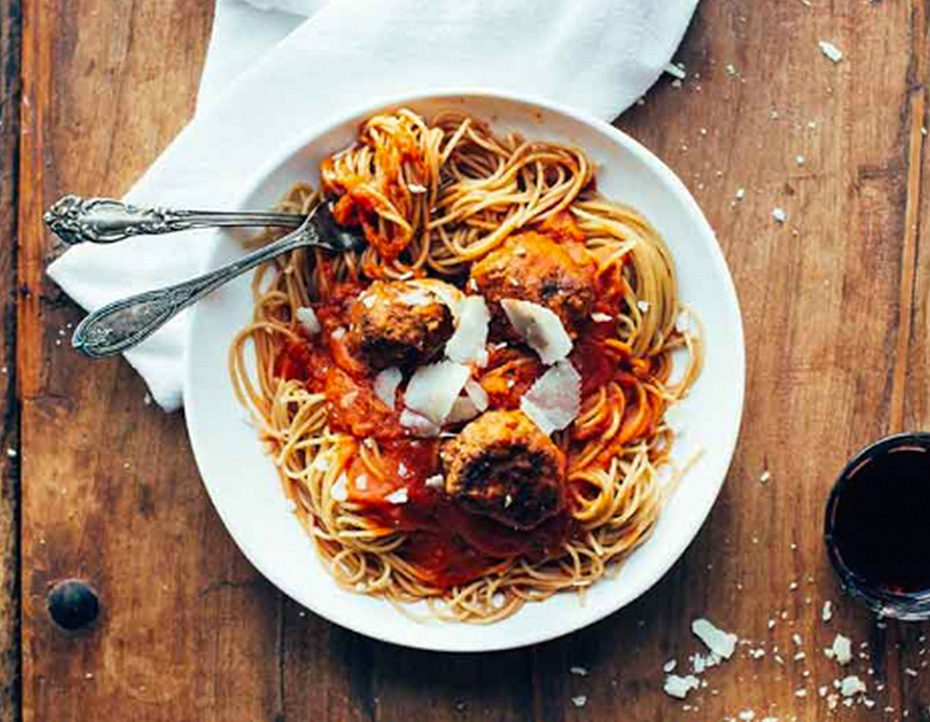
Pictures with food or #foodfies (food + selfie) are one the most popular types of image on Instagram and other social networks. Not long ago at Fagor Professional, we talked about the advantages of using Instagram as part of a restaurant Social Media business strategy. Today we want to give you some tricks to help you take photos of your dishes that look more professional, and delectable, without having to hire a stylist or photographer.
#Preparing the food
Given that the pictures of your dishes are only going to be eaten up “”with the eyes””, it is worth cooking some dishes rather less than you would do when serving them to customers. This optimises the appearance of many types of food and lets them retain firmer outlines and brighter colours.

#Decorating utensils
Use spray, brushes, kitchen tongs and any tool that will help to improve the final result. A few drops of cold water add an extra touch of freshness to fresh fruit and vegetables, and a quick varnishing with oil gives greater shine. The less stable parts of the composition can be held down with cocktail sticks or clips which will not appear in the photo later on.
#Staging
If you waste time experimenting with different compositions and frames, it is likely that the cooked food will start to pass its most appetising moment. Have all your utensils and decorative material ready beforehand so that the process of photographing is completed as quickly as possible once the dish is brought from the kitchen.
#Natural lighting
Light from the flash or artificial light create hard, cold lines with an unpleasant effect. Look for a space with good natural lighting, and if you consider it necessary to add extra lights to create shine or make certain parts of the dish stand out, use a light source which is separate from the camera itself.
#Tripod
Essential for a good result. You can find tripods of all prices and for all types of appliance. You don’t need to make a big investment, but you do need to guarantee the stability of the photograph.
#Framing and composition
Play with the composition of the elements in the photograph until you find the most attractive arrangement. Try photographing just one part or section of the dish instead of the whole of it. Remember that the format of photographs on Instagram is square, so if you are going to take a photograph with the camera or using an application with a different format, you will have to cut the photo before publishing it and the original composition will change.

#The rules of thirds
This is one of the most widely used techniques in the composition of images. The technique is to divide the picture into an imaginary grid with nine squares. Our gaze is drawn instinctively to the four points marked by the intersection of these lines. Most cameras and applications provide a template of this grid which allows us to situate the elements we wish to emphasise, such as a garnish, tip of a roast or main part of the dish, at the key points.
#Background and focus
The food should always take centre stage in the images, which means that it is definitely advisable to keep the background clear of distracting features. It is advisable to use a shallow depth of field so that these features remain out of focus. Very shallow depth of field may result in unequal focus between the different elements making up the dish. If this is the case, try centring on just one of the elements and play with the composition.
#Point of view
Experiment with different angles: high-angle, bird’s-eye and neutral shots. If the composition and decoration of the dish are important, it is advisable to use a bird’s-eye point of view, but remember that this makes the lighting more difficult.
#Filters
The preset filters of many photo editing applications and programs allow drastic modifications to be made to the photographs, but the result is very artificial. Whenever you can, it is better to modify the values of saturation, colour temperature, tone, etc. manually to achieve the desired effect without the photograph looking fake or as if it has gone through Photoshop (even if it has).
If you put these tips into practice, please share your opinion and results with us in the comments section and on the social networks.
Photos: theguardian.com
Follow us